Build Chatbot Backend
The backend api is a Node.js web application, using Express and Swagger, that will expose endpoints for the frontend application to interact with. The backend api could be deployed as web app on Azure App service.
Run the backend api locally
When developing a backend api, it is often useful to run the application locally to test and debug. This section outlines how to run the backend api locally while watching the file system for code changes. Any detected changes will automatically restart the backend api.
-
Open the backend api folder location in VS Code:
apps/api -
Open a Terminal window in VS Code (CTRL+`).
-
Check
.envfile has correct configurations. Placeholder string should be all replaced in earlierLab Setupstep.
Add LangChain Agent to Backend API
-
In the previous task, we created a LangChain agent that is capable of generating responses using RAG. Now, let's integrate this code into our Backend API service.
-
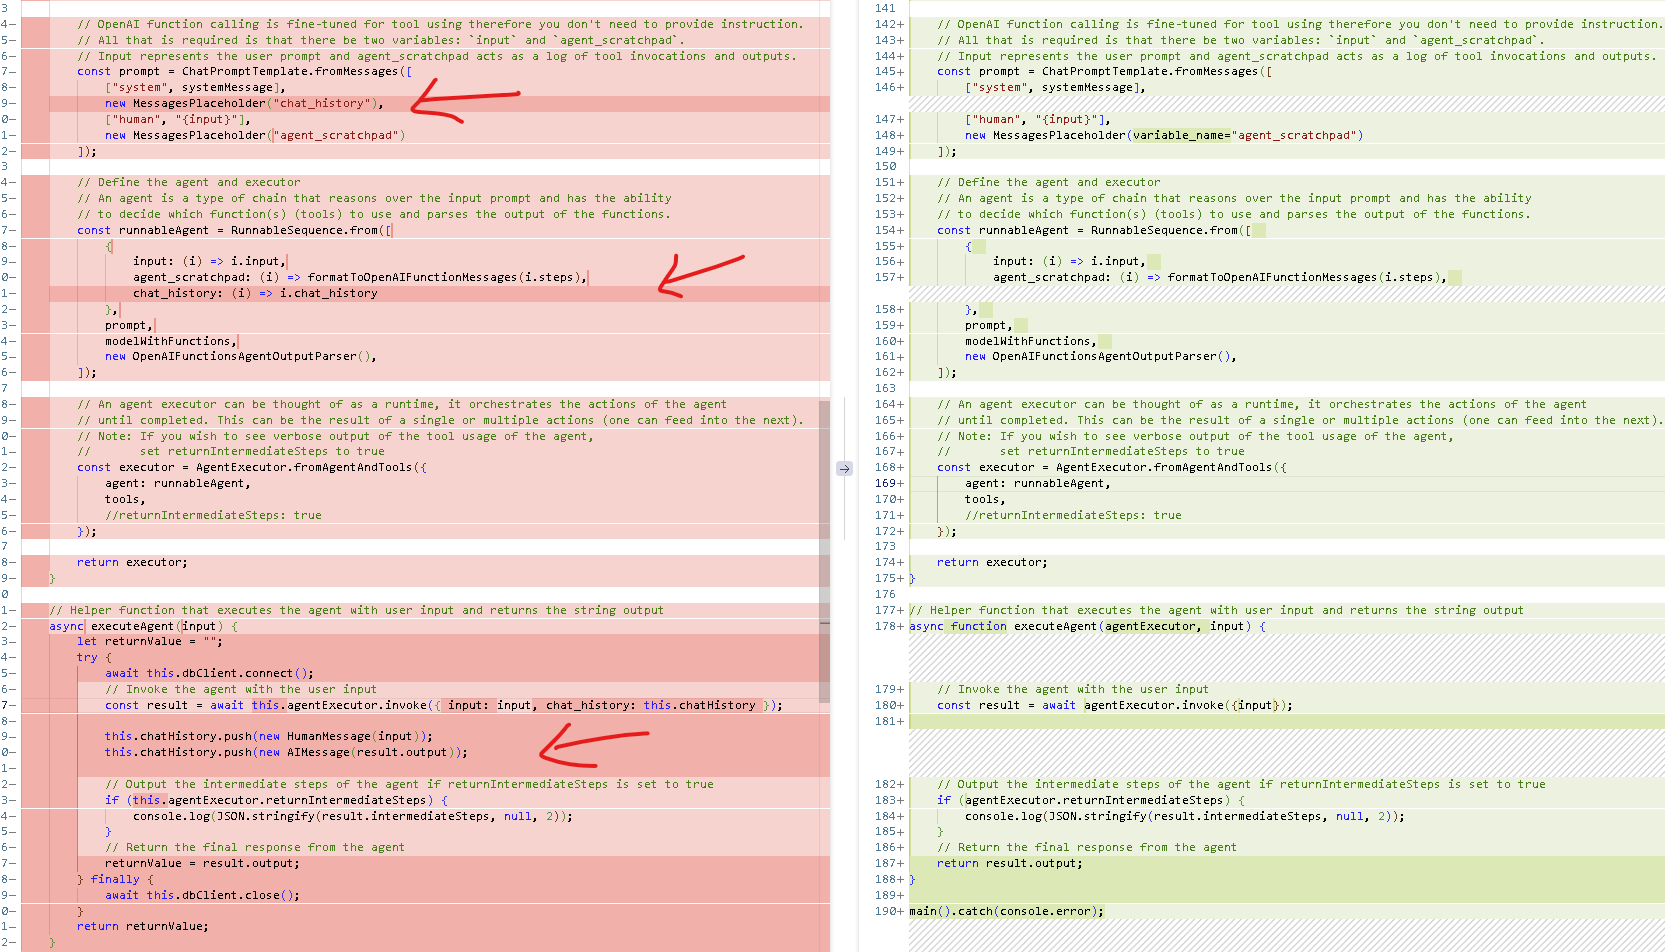
Compare
labs\02-LAB-02\5-Chatbot-Backend\agent.jsandlabs\02-LAB-02\5-Chatbot-Backend\langchain-agent.js. You will notice that additional code has been added to the function to manage chat history.
-
The
agent.jsis used inapps/api/bikestore/agent.jsto enable the backend to connect to both CosmosDb and OpenAI service. -
Take your time and have a look at these files:
apps\api\app.jsconfigures node.js appapps\api\swagger.jsconfigures swaggerapps\api\bikestore\agent.jscontains Langchain agent logics
Test out Backend API Swagger
-
Run the following command to install any dependencies:
npm install -
Run the following command to start the backend api.
npm run dev -
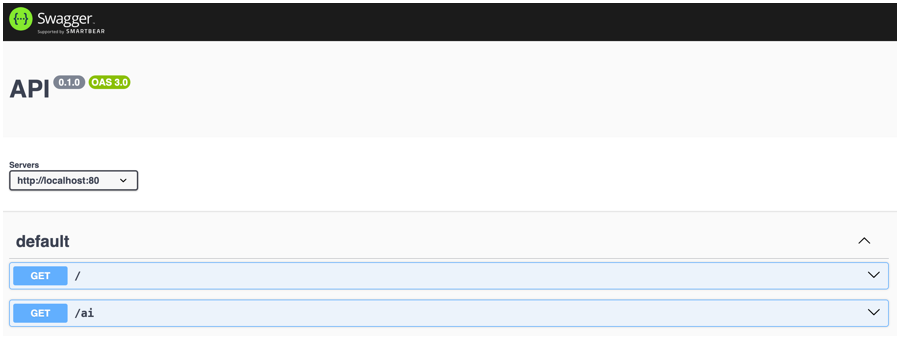
Open a browser and navigate to http://localhost:5000/docs to view the Swagger UI.
 info
infoIf you are running the
codespacesin web browser, please use the codespaces generated url. You shall seeOpen in browserbutton asking if you want to open the site in browser. If you missed the button, go toPORTStab to find it.The url would look similiar to: https://ominous-space-goldfish-v6vv749557wjfxj99-5000.app.github.dev/docs/
Additionally, please also make the
Visibilityof the site toPublicas shown in below screenshot. This is to allow frontend to access the API backend later.
-
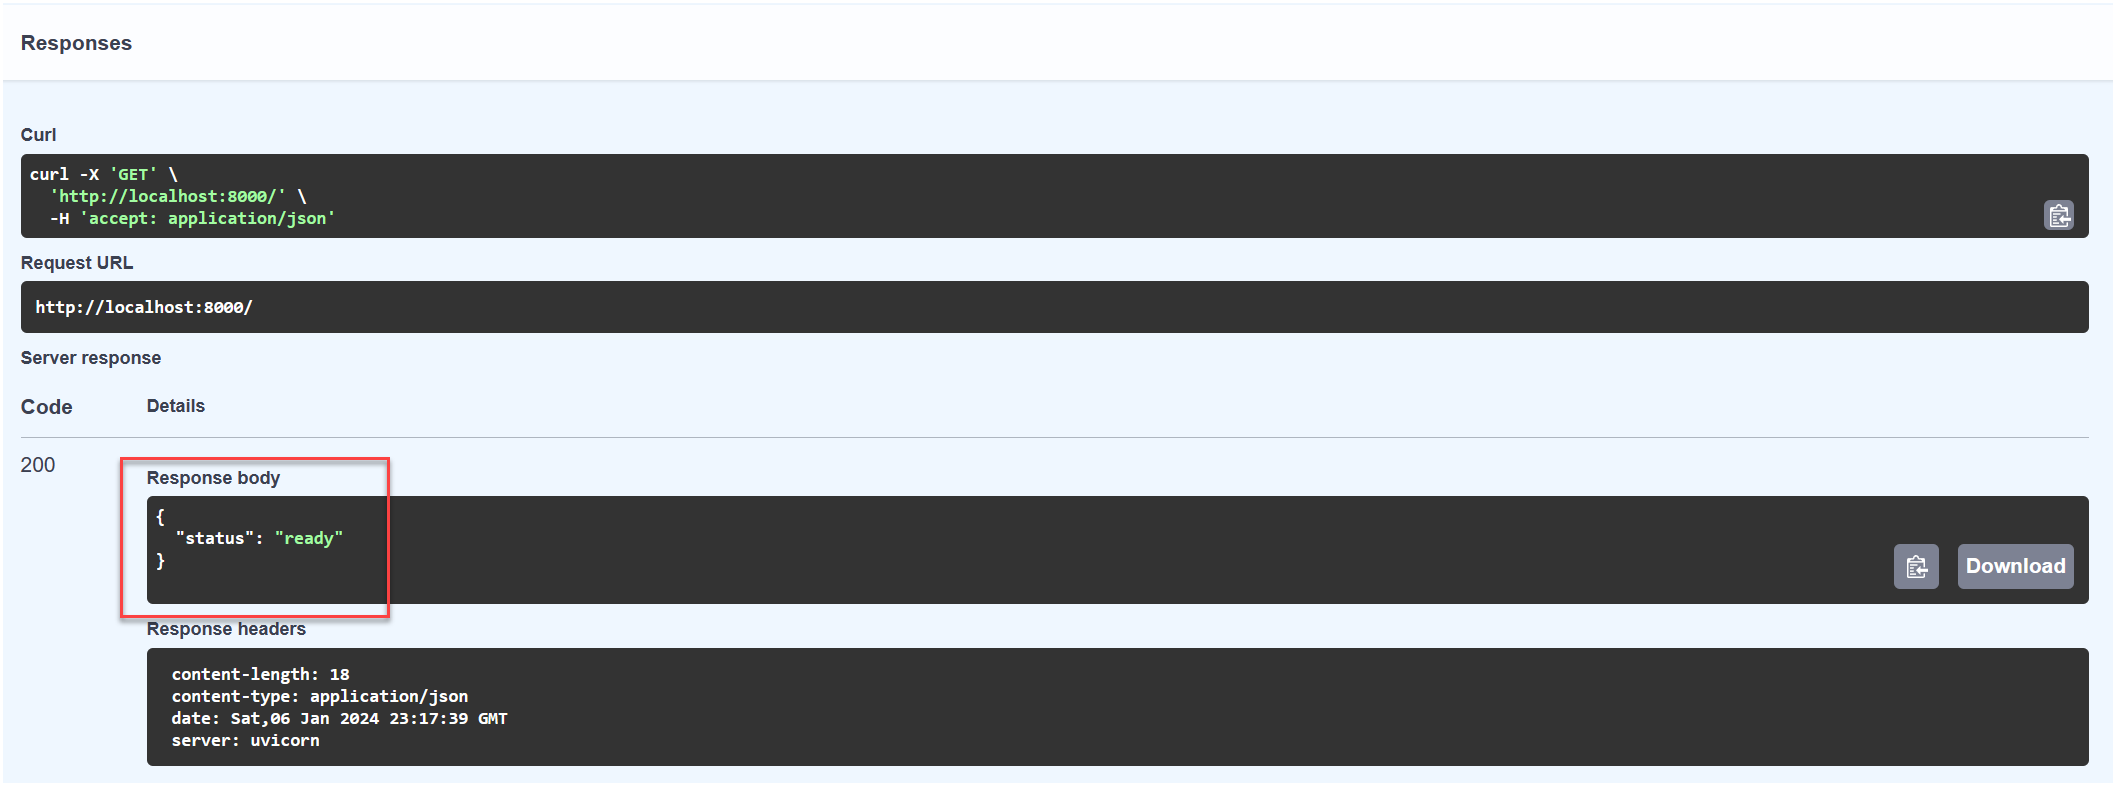
Expand the GET / Root endpoint and select Try it out. Select Execute to send the request. The response should display a status of
ready.
-
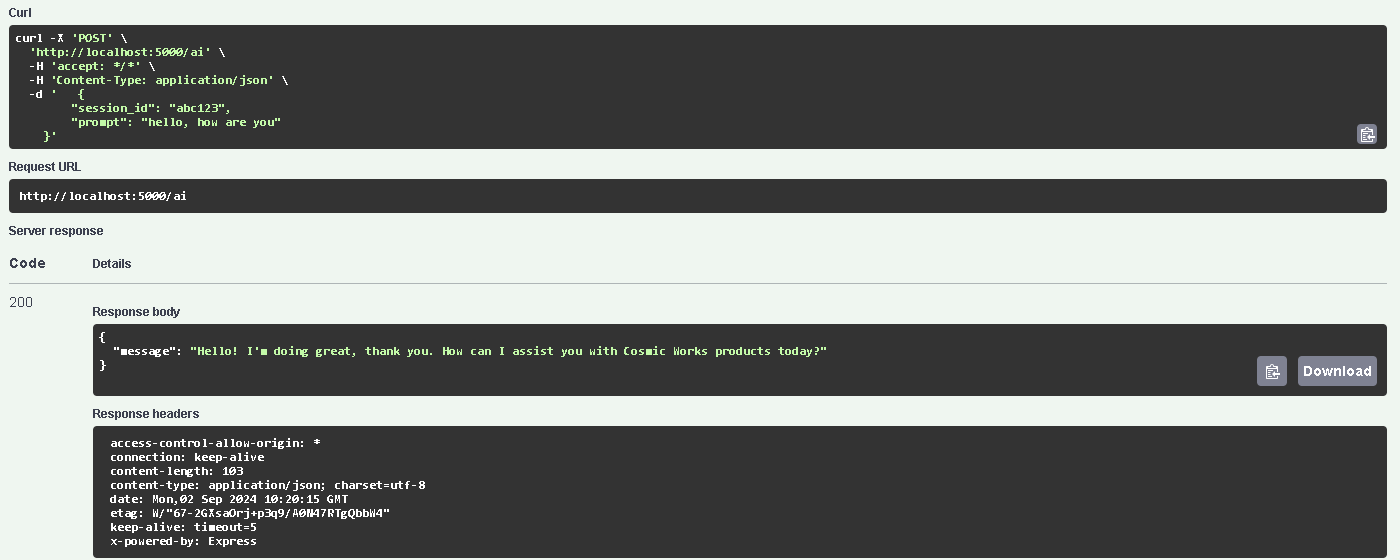
Expand the POST /ai endpoint and select Try it out. In the Request body field, enter the following JSON.
{
  "session_id": "abc123",
  "prompt": "hello, how are you"
} -
Select Execute to send the request. Observe that the response indicates the price as being
$1431.50.
-
Please keep the backend running.